Are you tired of the plain, boring look of your garage doors? Want to add a touch of creativity and personality to your home? Look no further!
In this step-by-step guide, we’ll show you how to transform your garage doors with stunning murals. From choosing the perfect design to showcasing your masterpiece, we’ve got you covered.
Get ready to impress your neighbors and give your home a unique and eye-catching look. Let’s dive in and unleash your artistic side!
Choosing the Perfect Mural Design

Choose the mural design that best reflects your personal style and enhances the overall aesthetic of your garage doors.
When it comes to selecting the perfect mural for your garage doors, consider incorporating different elements that resonate with your individuality and the changing seasons. The beauty of murals is that they can be customized to suit any time of the year, allowing you to create a dynamic and visually appealing entrance to your home.
For the spring season, why not choose a mural design that captures the essence of rebirth and rejuvenation? Bright and vibrant flowers blooming against a backdrop of lush greenery can breathe life into your garage doors, creating a welcoming atmosphere.
As summer approaches, you can opt for a beach or tropical-themed mural. Imagine driving up to your home, greeted by the sight of palm trees swaying in the breeze and clear blue waters. It’s like having a mini vacation every time you come home.
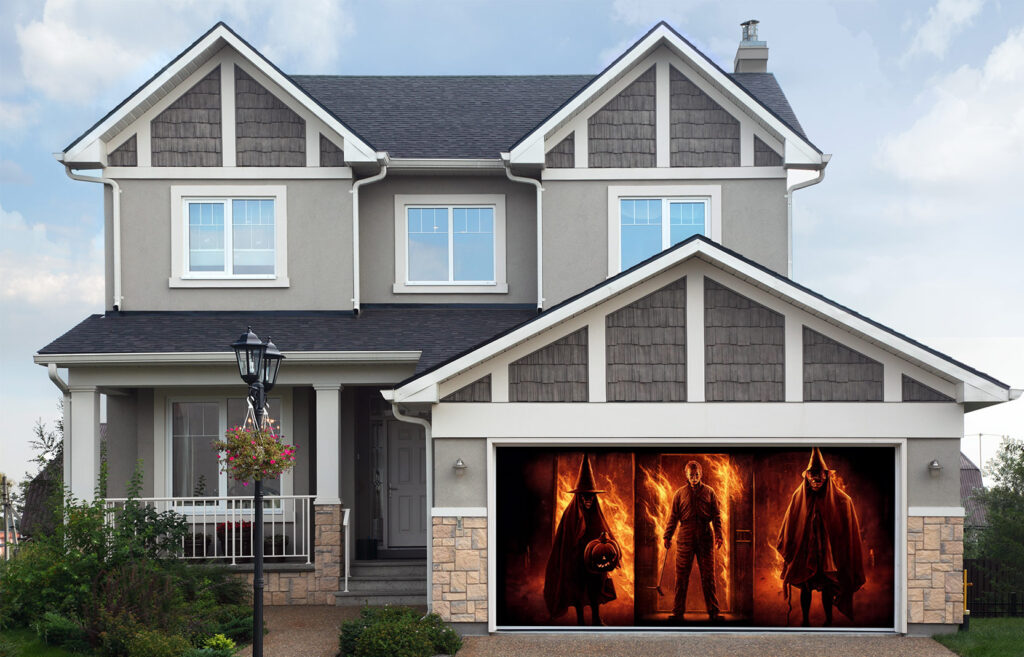
Fall calls for warm and earthy tones, such as orange, red, and brown. A mural featuring falling leaves or a cozy autumn scene can add a touch of warmth and nostalgia to your garage doors.
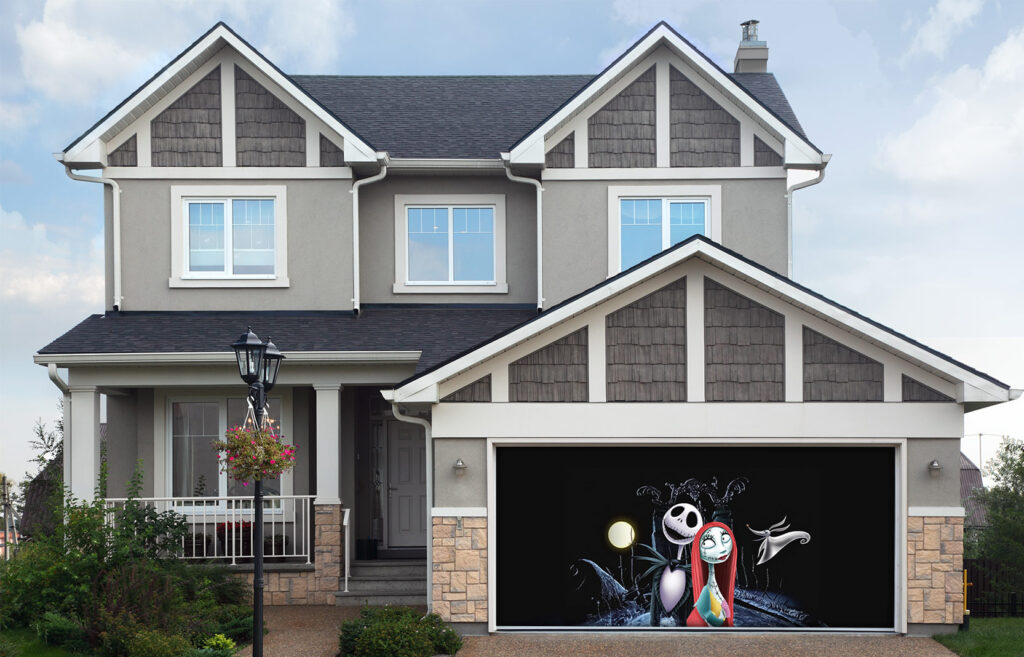
Finally, for the winter season, consider a mural that brings the magic of snow and winter wonderland to life. Snow-covered landscapes, snowflakes, or even a festive holiday scene can transform your garage doors into a captivating sight.
Preparing the Garage Door Surface
How can you ensure that your garage door surface is properly prepared for the mural installation process? If You Want to Buy Custom Murals Checkout with Decor Your Door
Preparing the surface is a crucial step to ensure that your mural adheres properly and lasts for years to come. There are a few surface preparation techniques that you should follow to achieve the best results.
First, start by cleaning the surface thoroughly. Remove any dirt, dust, or debris using a broom or a pressure washer. Make sure to reach all the nooks and crannies, as any residual grime can affect the adhesion of the mural.
Next, it’s essential to prime the surface. Apply a coat of primer specifically designed for outdoor use. This will create a smooth and even surface for the mural to adhere to, as well as enhance its longevity.
When priming, make sure to follow the manufacturer’s instructions regarding application and drying time. Allow the primer to dry completely before proceeding with the mural installation.
Gathering the Right Materials and Tools
Now that you’re ready to transform your garage doors into stunning murals, it’s time to gather the right materials and tools.
These essential tools include paintbrushes, rollers, a drop cloth, and painter’s tape.
When choosing materials, make sure to select high-quality, weather-resistant paints and primers that are suitable for outdoor use.
Before you begin, prepare the garage doors by cleaning them thoroughly and sanding any rough surfaces.
Essential Tools for Murals
To gather the right materials and tools for your mural project, you’ll need a comprehensive list of essential items. Make sure to select high-quality paints that won’t fade or crack over time. Acrylic paints are a popular choice for garage doors due to their durability and weather resistance.
When it comes to choosing the right paint for your mural, it’s important to consider the surface you’ll be working on.
For garage doors, acrylic paints are a popular choice due to their durability and weather resistance. Make sure to select high-quality paints that won’t fade or crack over time.
As for tips on mural composition, start by sketching out your design on paper to get a sense of how it will fit on your garage doors. Consider the scale, perspective, and overall aesthetic you want to achieve.
Once you have your design finalized, gather your brushes, paint rollers, and other tools necessary for applying the paint.
With the right materials and tools in hand, you’ll be well-prepared to create stunning murals on your garage doors.
Choosing the Right Materials
To gather the necessary materials and tools for your mural project, start by compiling a comprehensive list of essential items.
Choosing the right materials is crucial in creating a stunning and long-lasting mural on your garage doors. Consider the surface of your doors and the type of paint you’ll be using. For outdoor murals, it’s important to select materials that can withstand harsh weather conditions. Look for paints that are specifically designed for outdoor use and are fade-resistant.
Additionally, think about the cost considerations. High-quality materials may be more expensive initially, but they’ll provide better results and last longer.
Don’t forget to include brushes, rollers, painter’s tape, and drop cloths in your list of materials.
With the right materials, you can create a masterpiece that will transform your garage doors into a work of art.
Preparing the Garage Doors
Before you begin, make sure you have gathered all the necessary materials and tools for preparing your garage doors. To start with, you’ll need a mild detergent, a bucket, a sponge or soft cloth, and a hose for cleaning the surface of the doors. This step is important for removing any dirt, grime, or grease that may have accumulated over time.
Additionally, you’ll need sandpaper or a sanding block to smooth out any rough spots or imperfections on the doors. This will ensure a smooth and even surface for painting.
Lastly, make sure you have painter’s tape to protect any areas you don’t want to paint, as well as a drop cloth to protect the ground from any drips or spills.
Sketching the Mural Design
Now that you have gathered all the necessary materials and tools, it’s time to dive into sketching your mural design.
Designing the perfect mural requires careful planning and attention to detail. To ensure a successful outcome, here are some helpful tips for sketching:
- Start with a rough outline of your design.
- Experiment with different compositions and layouts.
- Don’t be afraid to make adjustments along the way.
Designing the Perfect Mural
Start by sketching out the design for your mural. This is where your creative vision comes to life. As you begin, think about what inspires you and how you want your mural to make people feel.
Consider the theme, colors, and overall style that will best suit the space and your personal taste. Take into account the size and shape of your garage doors when designing the mural. Will it cover the entire surface or just a portion?
Think about the placement of the mural as well. Do you want it to be a focal point or blend seamlessly with the surroundings?
Sketching allows you to experiment and refine your ideas before committing to the final design. So let your imagination run wild and create a mural that will truly transform your garage doors.
Tips for Sketching
To create a stunning mural design for your garage doors, continue the creative process by following these tips for sketching. Sketching is an essential step in bringing your mural design to life. Here are some techniques to help you sketch your mural with precision and clarity.
- Start with a rough outline: Begin by sketching a basic outline of your design. This will serve as a guide for the rest of your sketch.
- Use reference images: Look for reference images that align with your vision. These images can help you capture the details and proportions accurately.
- Experiment with different perspectives: Play around with different perspectives to find the most impactful composition for your mural. Sketch from different angles and distances to see what works best.
- Focus on light and shadow: Pay attention to how light and shadow interact with your design. Use shading techniques to add depth and dimension to your sketch.
Applying the Base Coat
Begin by preparing the surface of your garage doors with a thorough cleaning and sanding. This step is crucial to ensure that the base coat adheres properly and creates a smooth surface for your mural. Start by removing any dirt or debris from the doors using a mild detergent and water. Scrub gently with a sponge or brush, and rinse thoroughly. Once the doors are clean, it’s time to sand them. Use a medium-grit sandpaper to roughen the surface, creating a better grip for the paint. Make sure to sand evenly and pay extra attention to any rough or peeling areas. After sanding, wipe away any dust or residue with a clean cloth.
Now that your garage doors are clean and prepped, it’s time to choose the paint colors for your mural. Consider the overall theme and style you want to achieve. Bright and bold colors can make a statement, while muted or earthy tones offer a more subtle look. Take into account the colors of your home’s exterior and any surrounding landscaping. You want your mural to complement the existing aesthetics. It’s also a good idea to test the colors on a small area of the garage door before committing to the entire design.
As you begin applying the base coat, keep in mind some common painting mistakes that can affect the overall finish of your mural. One mistake is applying too much paint at once, which can lead to drips or uneven coverage. To avoid this, start with thin, even coats and allow each layer to dry before applying the next. Another mistake is using a low-quality or mismatched paintbrush. Invest in a high-quality brush that’s suitable for the type of paint you’re using. This will help you achieve a smooth and professional-looking finish. Lastly, be mindful of the weather conditions when painting. Extreme temperatures or high humidity can affect the drying time and adhesion of the paint. Choose a day with moderate temperature and low humidity for best results.
Adding Depth and Highlights
To achieve depth and highlights in your garage door mural, focus on layering paint and strategically applying lighter shades. By using highlighting techniques and creating 3D illusions, you can transform a flat surface into a visually captivating masterpiece.
Start by selecting a lighter shade of paint than your base color. This will be used to create highlights and add dimension to your mural. Choose a brush with a fine tip to allow for precise application. Begin by applying the lighter shade to areas that would naturally catch the light, such as edges, curves, and raised surfaces.
Next, focus on layering paint to create depth. Select a darker shade of paint that complements your base color. Apply this shade to areas that would naturally be in shadow, such as recesses and crevices. Blend the darker shade with the base color using a brush or sponge to create a seamless transition between the two tones.
To enhance the 3D effect, consider using techniques such as dry brushing or stippling. Dry brushing involves dipping a dry brush into paint and lightly dragging it across the surface, leaving behind subtle streaks of color. Stippling involves using a stippling brush or sponge to dab small dots of paint onto the surface, creating texture and depth.
Remember to step back and assess your work regularly to ensure a balanced and cohesive mural. With careful layering and strategic highlighting, you can transform your garage door into a captivating work of art that adds personality and charm to your home.
Painting the Mural
Once you have prepared the surface and added depth and highlights, it’s time to start painting the mural on your garage doors. Before you begin, it’s important to ensure that your garage doors are in good condition and have undergone regular maintenance. This will help to ensure that the mural remains intact and looks stunning for years to come.
When it comes to mural placement, consider the size and shape of your garage doors. Take measurements and sketch out your design on paper before transferring it onto the doors. This will give you a clear idea of how the mural will look and allow you to make any necessary adjustments.
Now, let’s talk about painting techniques. Start by outlining the main elements of your mural using a small brush or pencil. This will help you stay within the lines and maintain the proportions of your design. Once the outline is complete, fill in the larger areas with a roller or a wide brush for a smooth and even finish.
When it comes to color selection, choose shades that complement your home’s exterior. Consider the existing color scheme and choose colors that will enhance the overall aesthetic. Don’t be afraid to experiment and mix colors to create unique shades that add depth and dimension to your mural.
Remember to take breaks and step back to assess your progress. This will give you a fresh perspective and allow you to make any necessary adjustments. Once you’re satisfied with the results, allow the paint to dry completely before adding any finishing touches or protective sealants.
With these steps, you’re well on your way to transforming your garage doors with stunning murals. Enjoy the process and let your creativity shine!
Sealing and Protecting the Artwork
How can you ensure the longevity and preservation of your garage door mural? Sealing techniques and regular maintenance are key.
Once you have completed your mural, it’s important to protect it from the elements and potential damage. Start by applying a clear coat sealant over the entire artwork. This will act as a barrier against UV rays, moisture, and other environmental factors that can cause fading or deterioration. Make sure to choose a sealant specifically designed for outdoor use. Apply multiple thin coats, allowing each layer to dry completely before adding the next. This will ensure a strong and durable protective layer.
In addition to sealing, regular maintenance is essential for keeping your garage door mural looking its best. Clean the surface periodically using a mild detergent and water. Avoid abrasive cleaners or brushes that could damage the artwork. Inspect the mural for any signs of wear or damage, such as peeling or cracking. If you notice any issues, address them immediately to prevent further deterioration.
Installing Hardware and Accessories
Attach the hardware and accessories to your garage door to enhance its functionality and aesthetic appeal. Here are four key steps to follow when installing hardware and choosing accessories for your garage door:
- Select the right hardware: Start by choosing the appropriate hinges, handles, and decorative accents that match the style of your garage door and the overall look of your home. Consider factors such as durability, weather resistance, and ease of installation. Opt for high-quality materials like stainless steel or wrought iron for a long-lasting finish.
- Install the hinges: Attach the hinges to the designated locations on the garage door using the provided screws or bolts. Make sure they’re aligned properly to ensure smooth operation. Depending on the type of hardware, you may need to use a drill or screwdriver for installation.
- Add handles and pulls: Install handles on the sides of the garage door for easy operation. Choose handles that are sturdy and comfortable to grip. Additionally, consider adding decorative pulls or rings to enhance the visual appeal of your garage door.
- Accessorize with decorative elements: Enhance the overall look of your garage door by adding decorative elements such as window inserts, faux hardware, or decorative straps. These accessories can transform your garage door into a focal point of your home’s exterior.
Showcasing Your Garage Door Masterpiece
Now that you have successfully transformed your garage door into a stunning mural, it’s time to showcase your masterpiece.
The first step is to choose the perfect design that reflects your personal style and complements your home’s exterior.
Once you’ve made your selection, prepare the surface by cleaning it thoroughly and making any necessary repairs.
Choosing the Perfect Design
To ensure that you showcase your garage door masterpiece effectively, regularly evaluate different design options. Here are four tips to help you choose the perfect design for your garage door mural:
- Consider your personal style: Think about the overall aesthetic you want to achieve. Are you drawn to bold and vibrant designs, or do you prefer something more subtle and understated? Take into account your home’s architecture and surrounding landscape when making your choice.
- Reflect your interests: Use your garage door as a canvas to express your passions and hobbies. Whether you’re a nature lover, sports enthusiast, or art aficionado, incorporating elements that reflect your interests will make your mural truly unique.
- Coordinate with your garage door style: Take into account the style of your garage door when selecting a design. If you have a modern, minimalist door, opt for a clean and contemporary mural. For a more traditional door, consider a design that complements its classic charm.
- Seek inspiration: Look for inspiration in books, magazines, or online platforms dedicated to garage door murals. Take note of designs that catch your eye and use them as a starting point for creating your own one-of-a-kind masterpiece.
Preparing the Surface
Once you have chosen the perfect design for your garage door mural, it’s time to prepare the surface for showcasing your masterpiece. Before you begin, it’s important to ensure that your garage door is in good condition. Perform any necessary garage door maintenance, such as repairing any dents or cracks, and ensuring that it operates smoothly.
Next, consider the surface on which you’ll be painting your mural. While traditional garage doors provide a great canvas, there are also alternative mural surfaces to consider. Some homeowners choose to paint directly on wooden panels or metal sheets, while others opt for removable vinyl wraps that can easily be changed or removed if desired.
Regardless of the surface you choose, it’s important to properly clean and prime it before painting. Remove any dirt or debris using a mild detergent and water, and allow the surface to dry completely. Apply a primer specifically designed for the material you’re painting on to ensure proper adhesion and longevity of your mural.
Adding Finishing Touches
To showcase your garage door masterpiece, add the finishing touches that will truly make it shine. Here are four key steps to consider:
- Applying a Weatherproof Coating: Protect your mural from the elements by applying a weatherproof coating. This will ensure that your artwork remains vibrant and resistant to fading caused by UV rays and rain.
- Selecting Appropriate Paint Colors: Choose paint colors that complement your home’s exterior and enhance the overall aesthetic appeal of your garage door. Consider the architectural style, surrounding colors, and personal preferences when making your selection.
- Adding Details and Accents: Incorporate additional elements to enhance the visual impact of your mural. This could include adding intricate designs, textures, or even 3D effects to create depth and dimension.
- Sealing and Finishing: Once your mural is complete, seal it with a protective clear coat to preserve its longevity. This will also make it easier to clean and maintain over time.
Conclusion
Now that you have completed your stunning garage door mural, it’s time to step back and admire your masterpiece.
With the right design, materials, and tools, you have transformed your garage door into a work of art that will catch the eye of all who pass by.
Don’t forget to showcase your creativity and hard work to friends and family, and let your garage door be a unique expression of your personal style.